Easter Hot Cross Buns

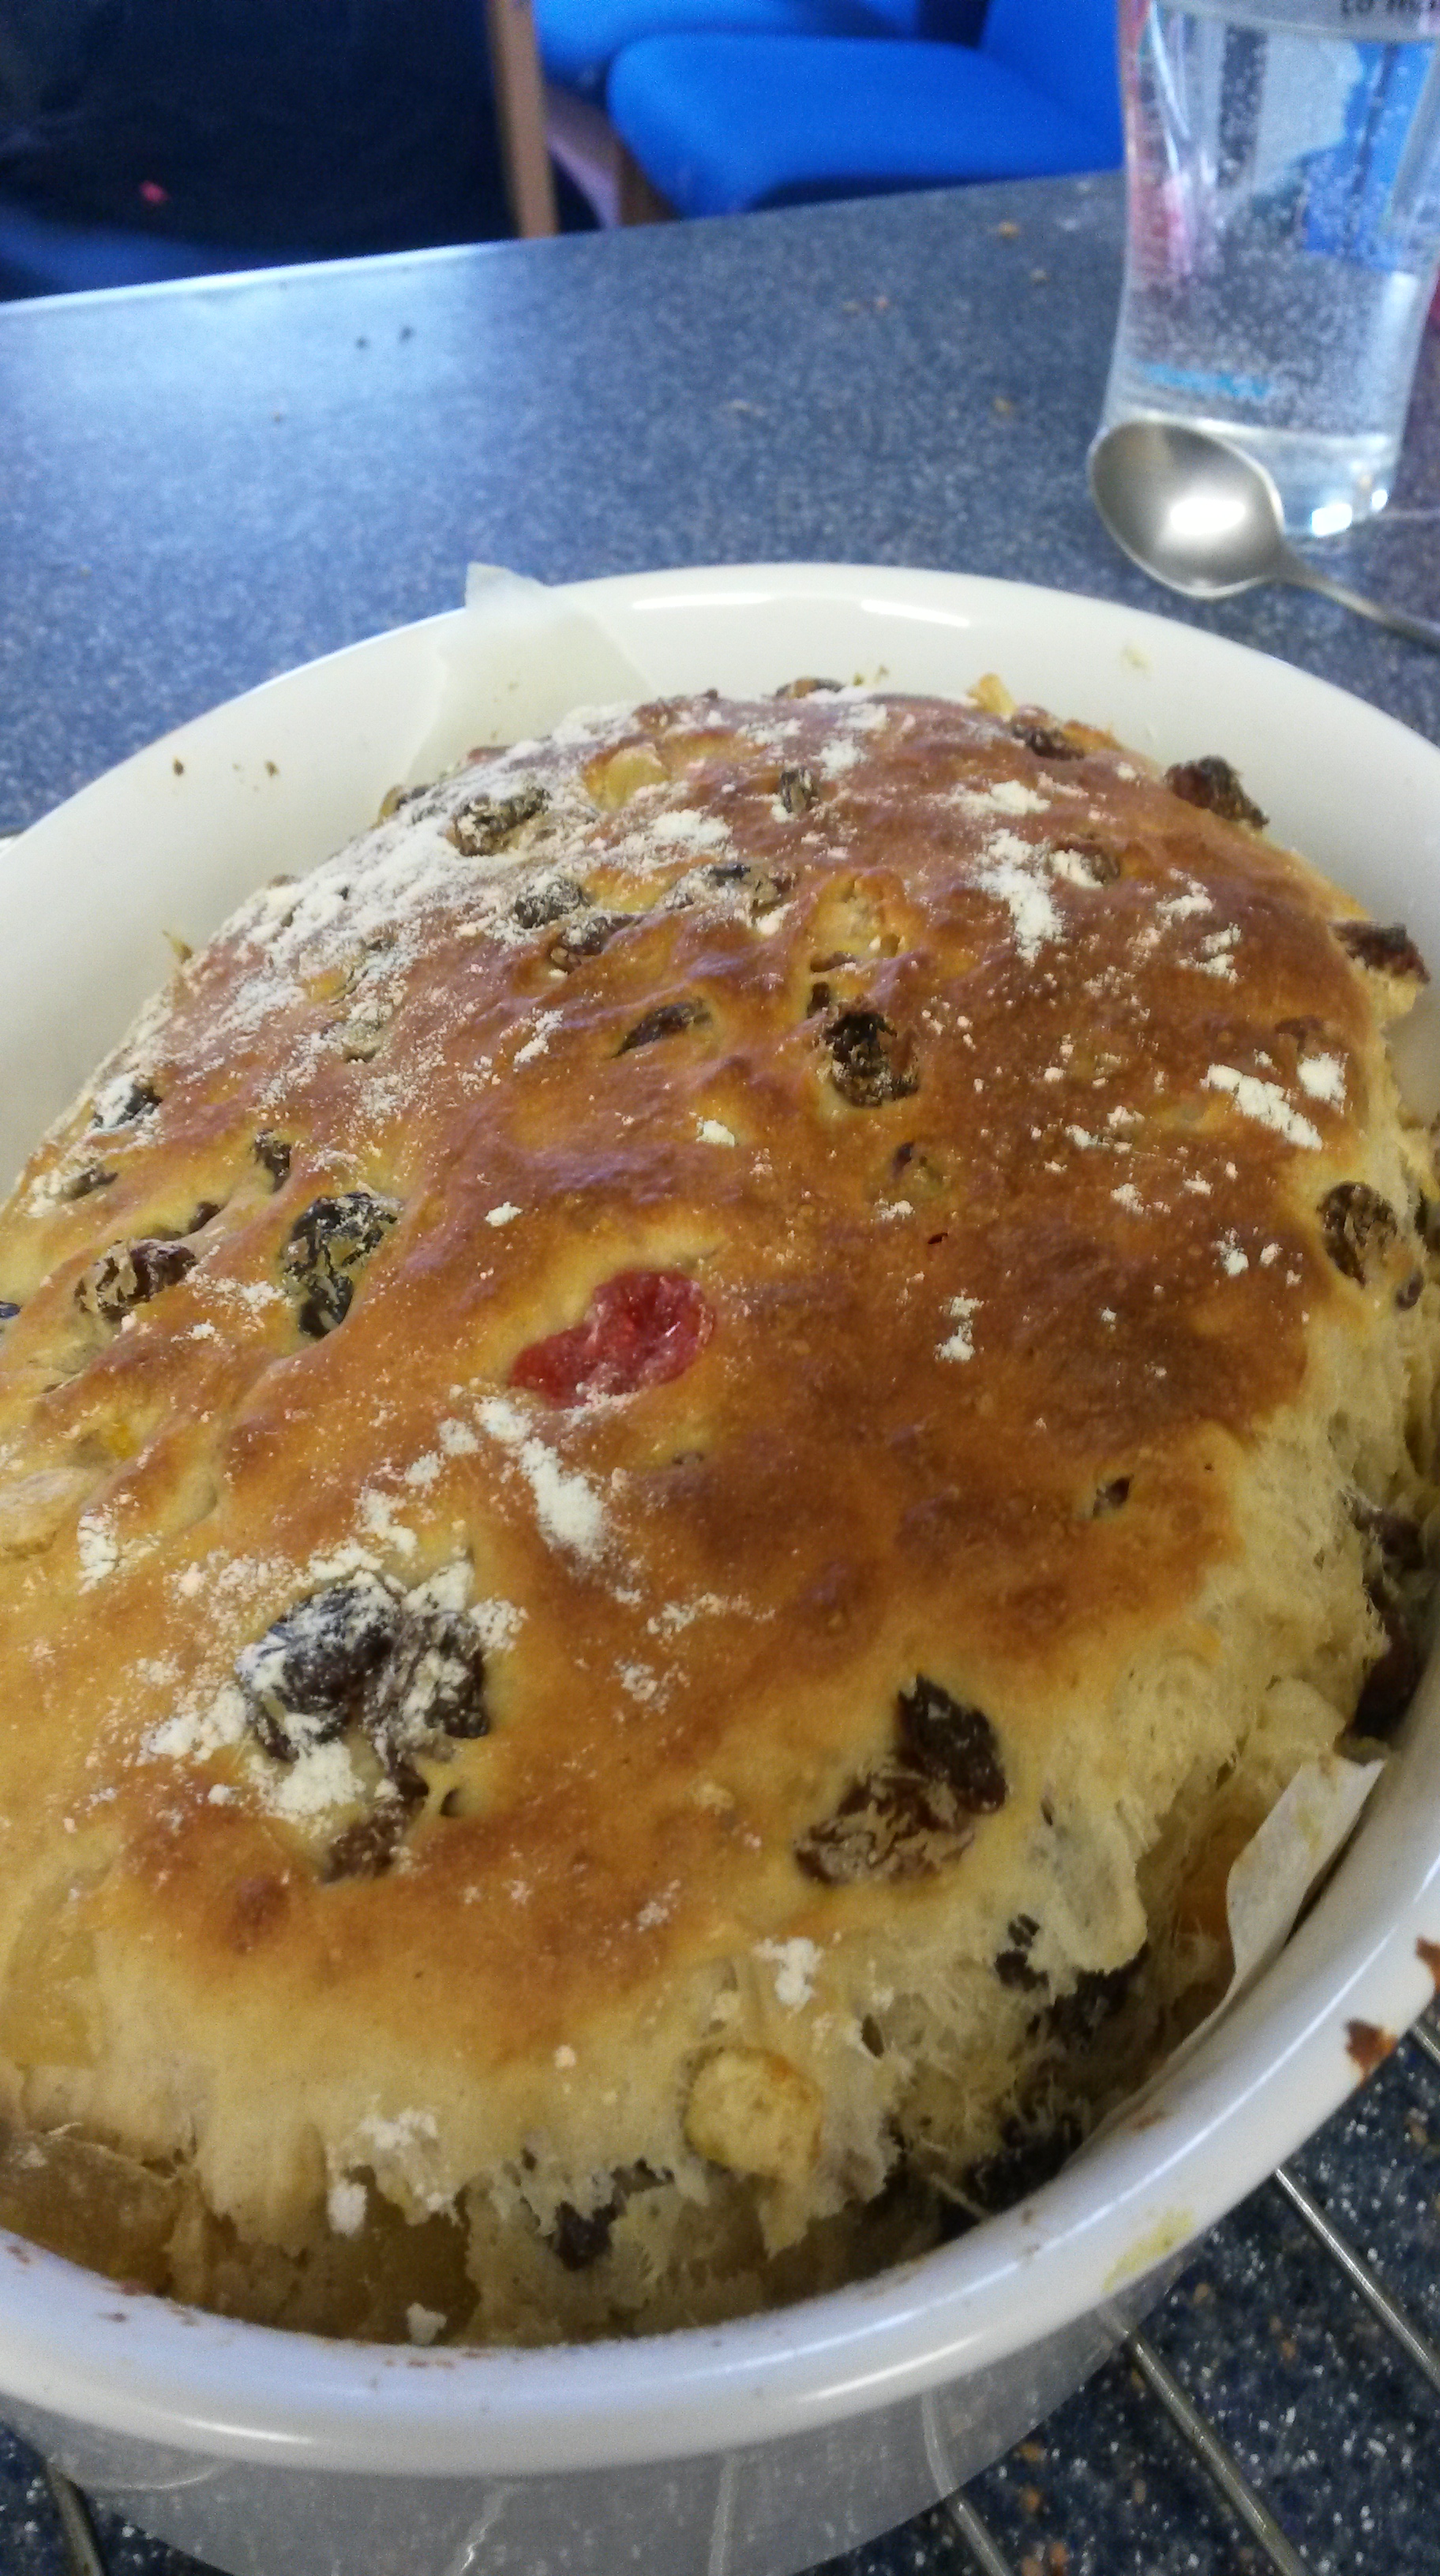
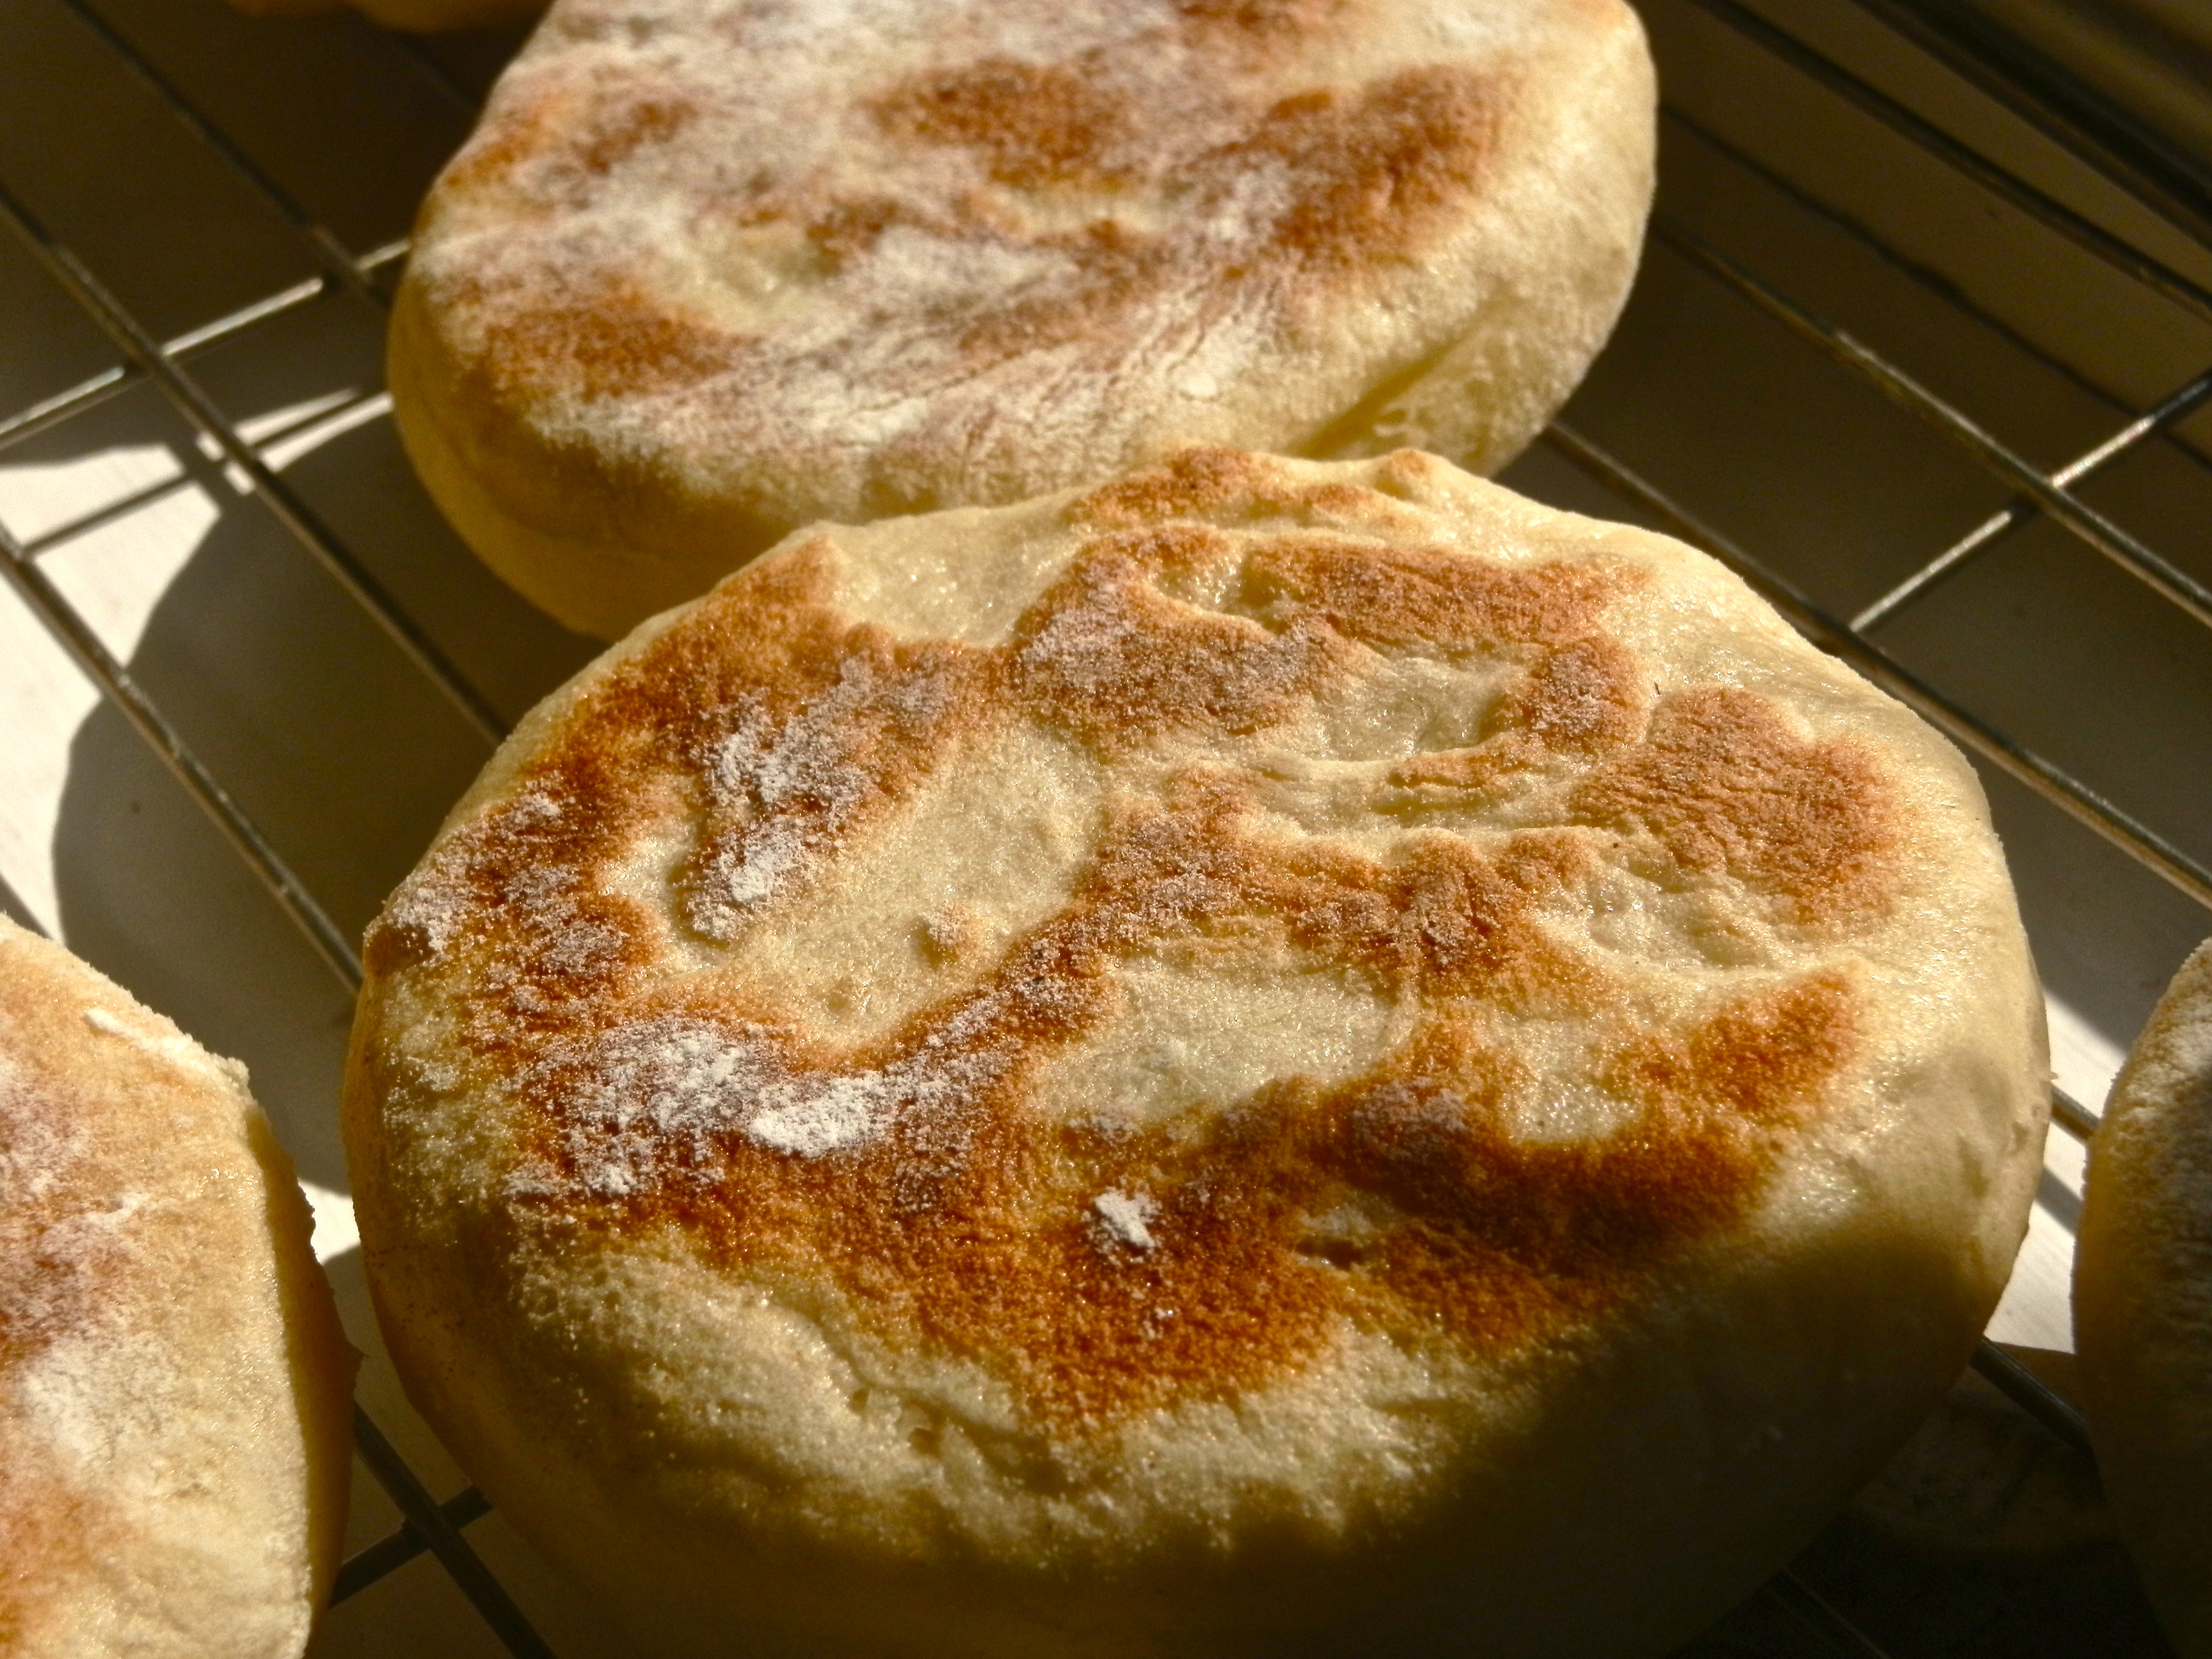
There’s no doubt about it, Easter time means one thing for me, hot cross buns. I don’t know why but there’s nothing that beats a toasted hot cross bun with lashings of melting butter on top. I find they’re a great way to start a day and they have sultanas in so they’re kind of healthy right?..

I have used this recipe for the past couple of years and it has never failed me, however this year I did not add any chopped mixed peel as we didn’t have any but I think the orange zest makes up for the lack of peel. I also made them wholemeal this year for a change. This recipe makes about 12 medium-large buns.

The recipe is as follows:

400g wholemeal flour

100g white flour

5g salt

70g caster sugar

2 sachets of instant yeast (14g)

40g margarine

2 eggs

120ml semi-skimmed milk

120ml water

200g sultanas

Zest of 2 oranges

2 tsp. cinnamon

1 tsp. mixed spice

(80g chopped mixed peel)-optional

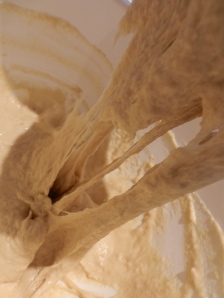
Start by placing the flours into a bowl with salt and sugar added on one side and the yeast added to the other side. Then add in the butter, eggs, milk and water. Mix it all together with your hands and knead it for 10 minutes. By the end the dough should feel elastic and not tough.

Leave to rise for 1 hour. Then knock the dough back and add the spices, zest and fruit. Knead again for about 10 minutes and then leave to rise for another hour. Make sure all the fruit is dispersed in the dough.

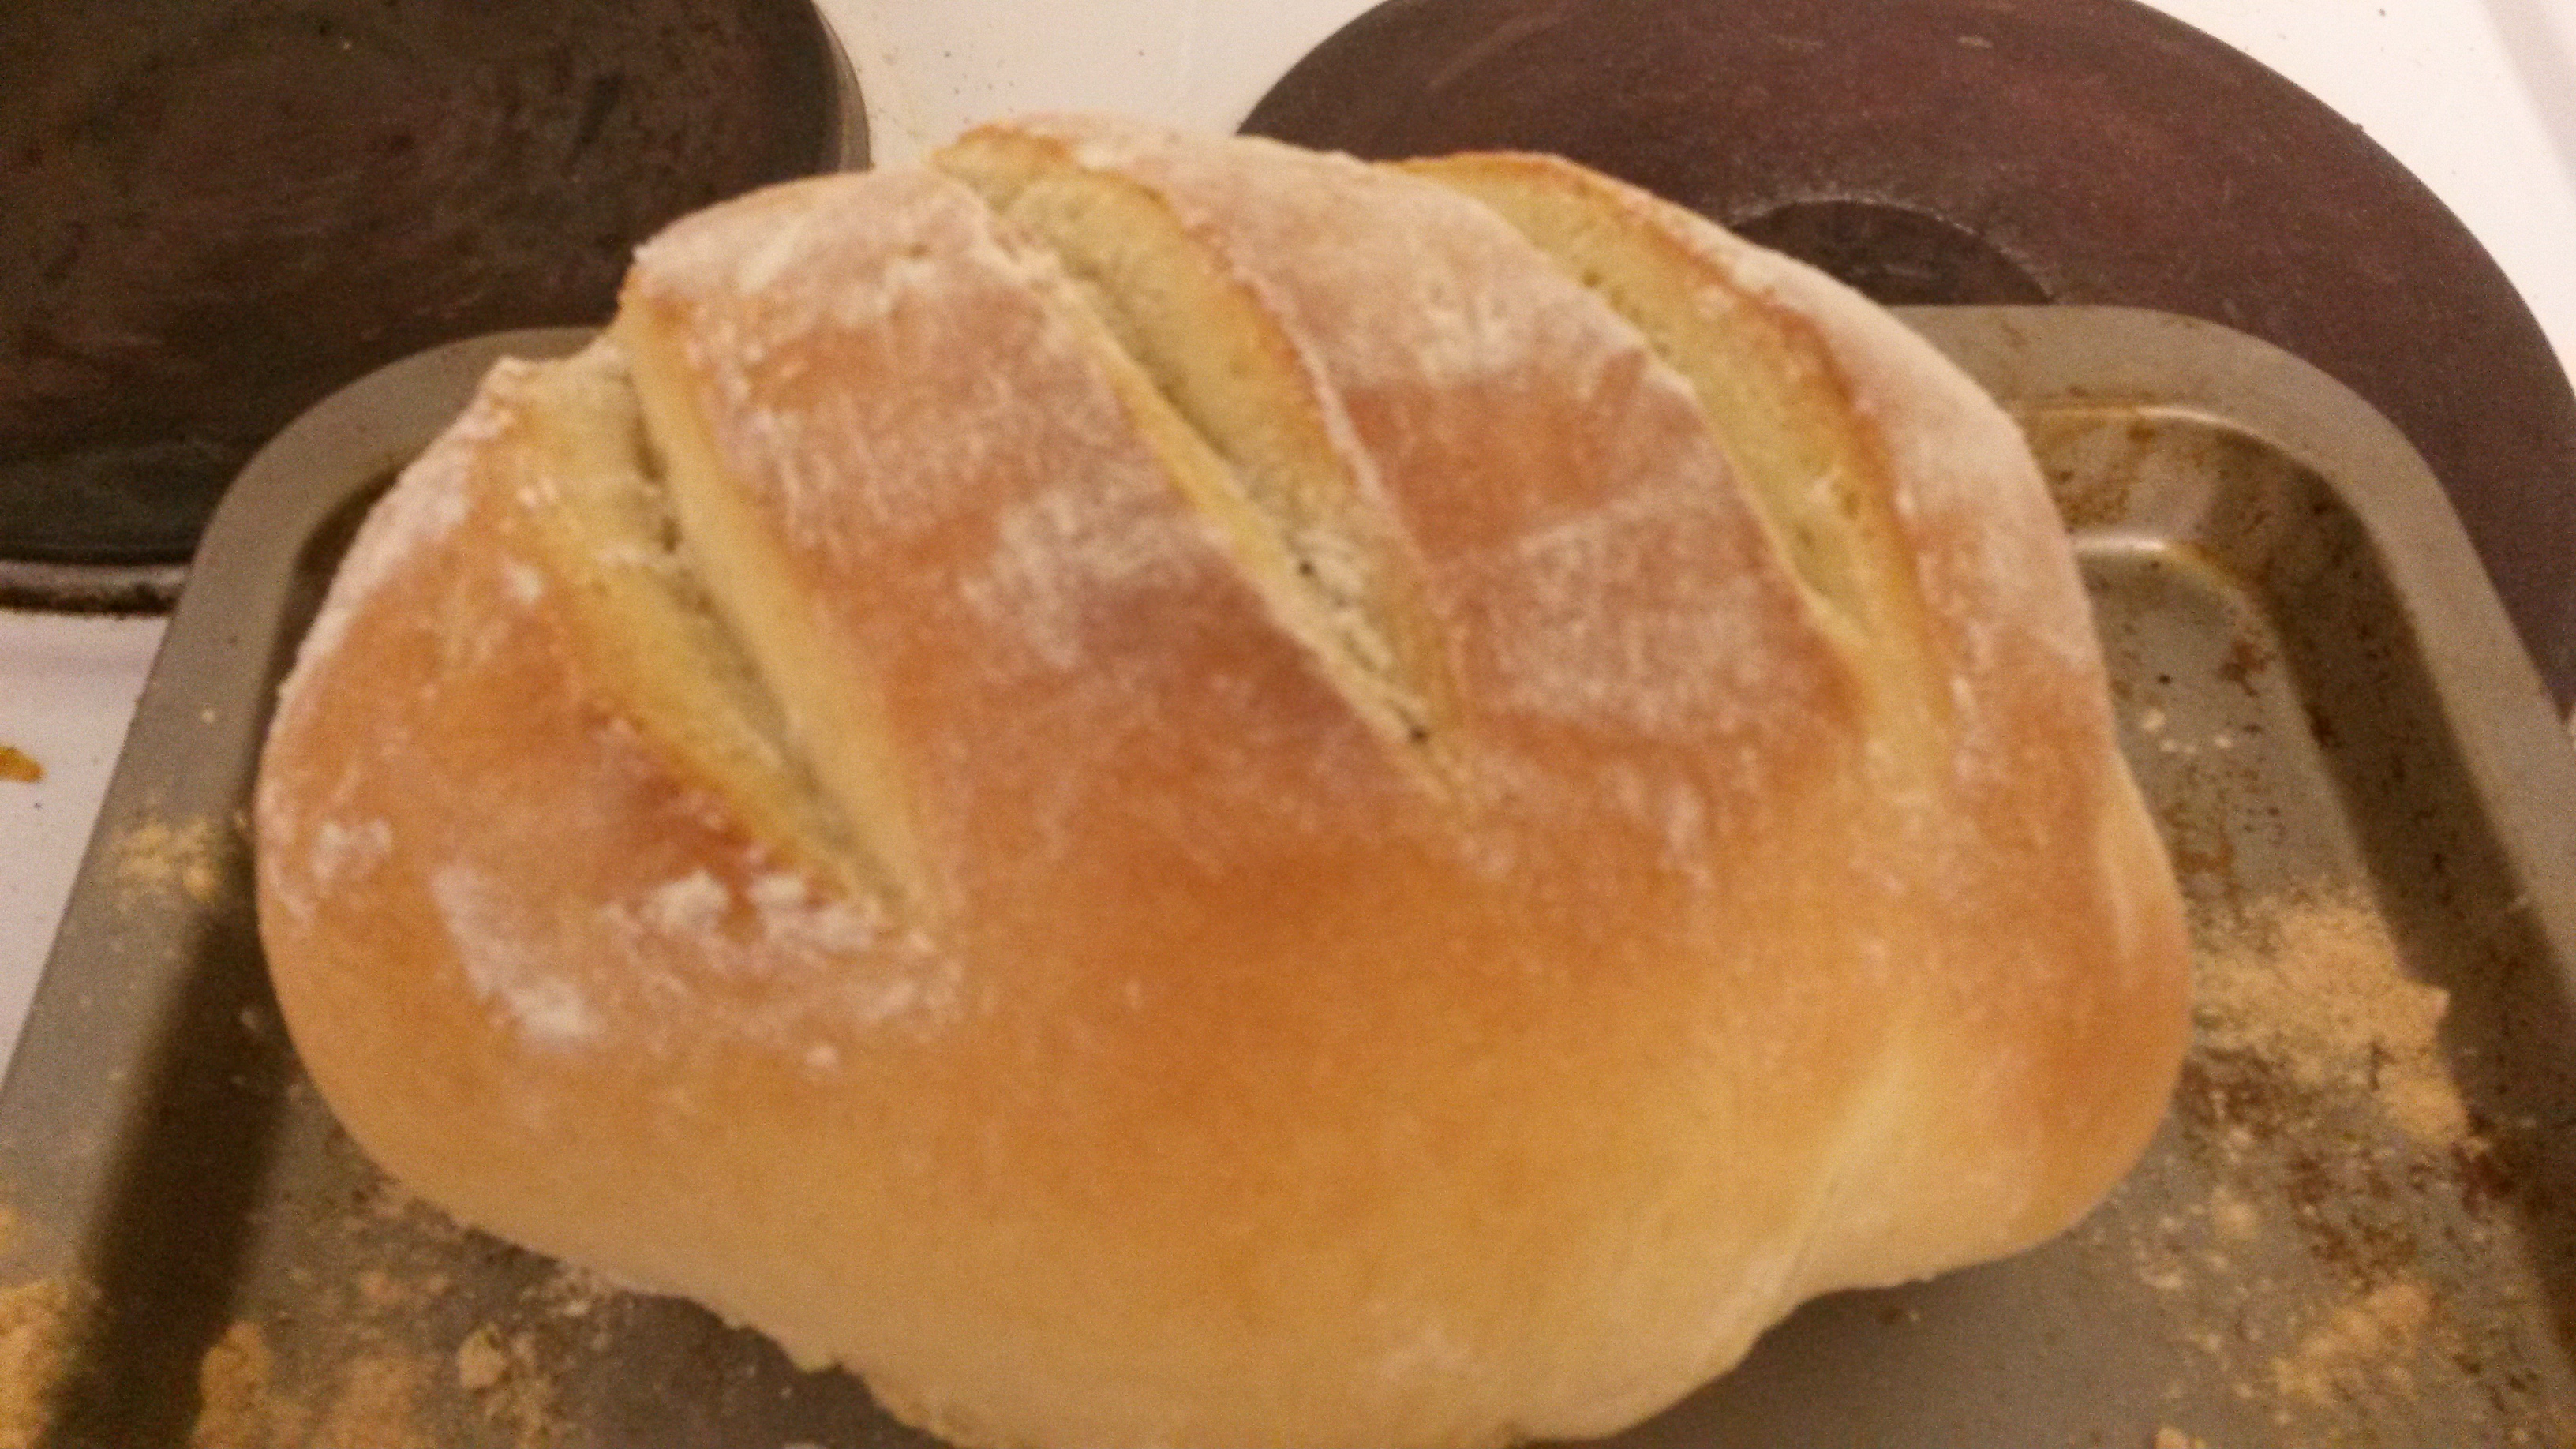
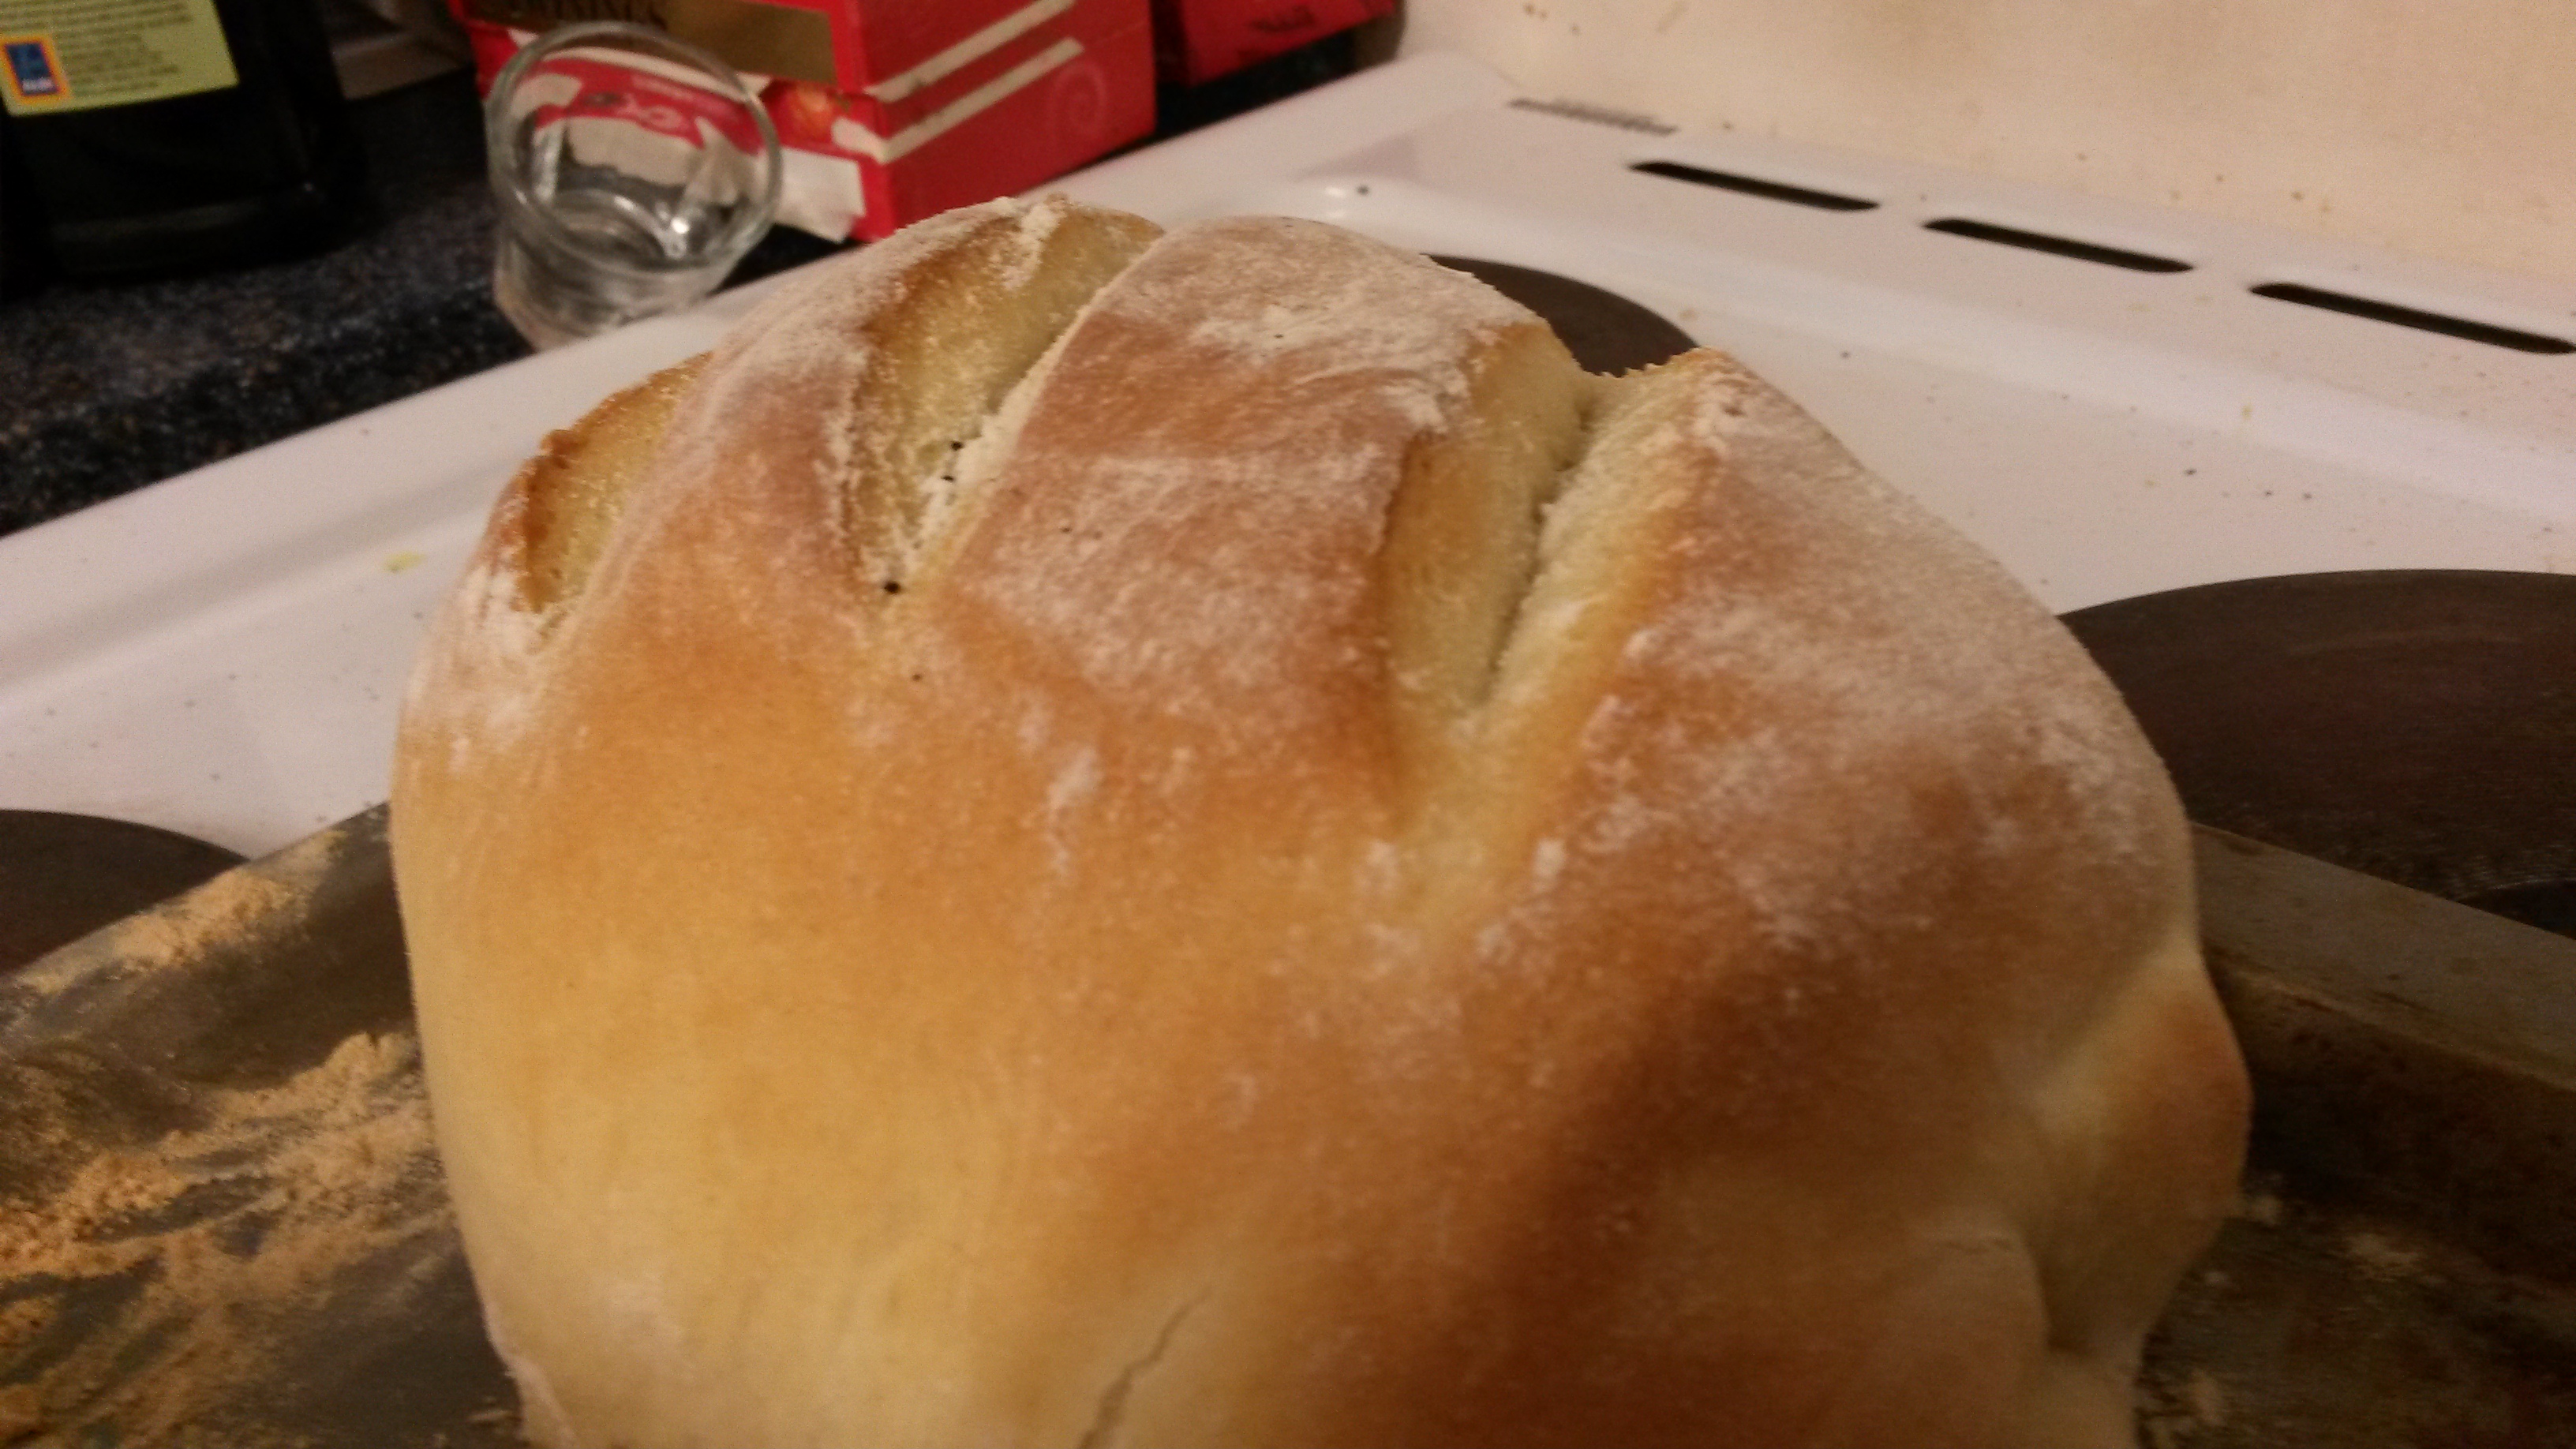
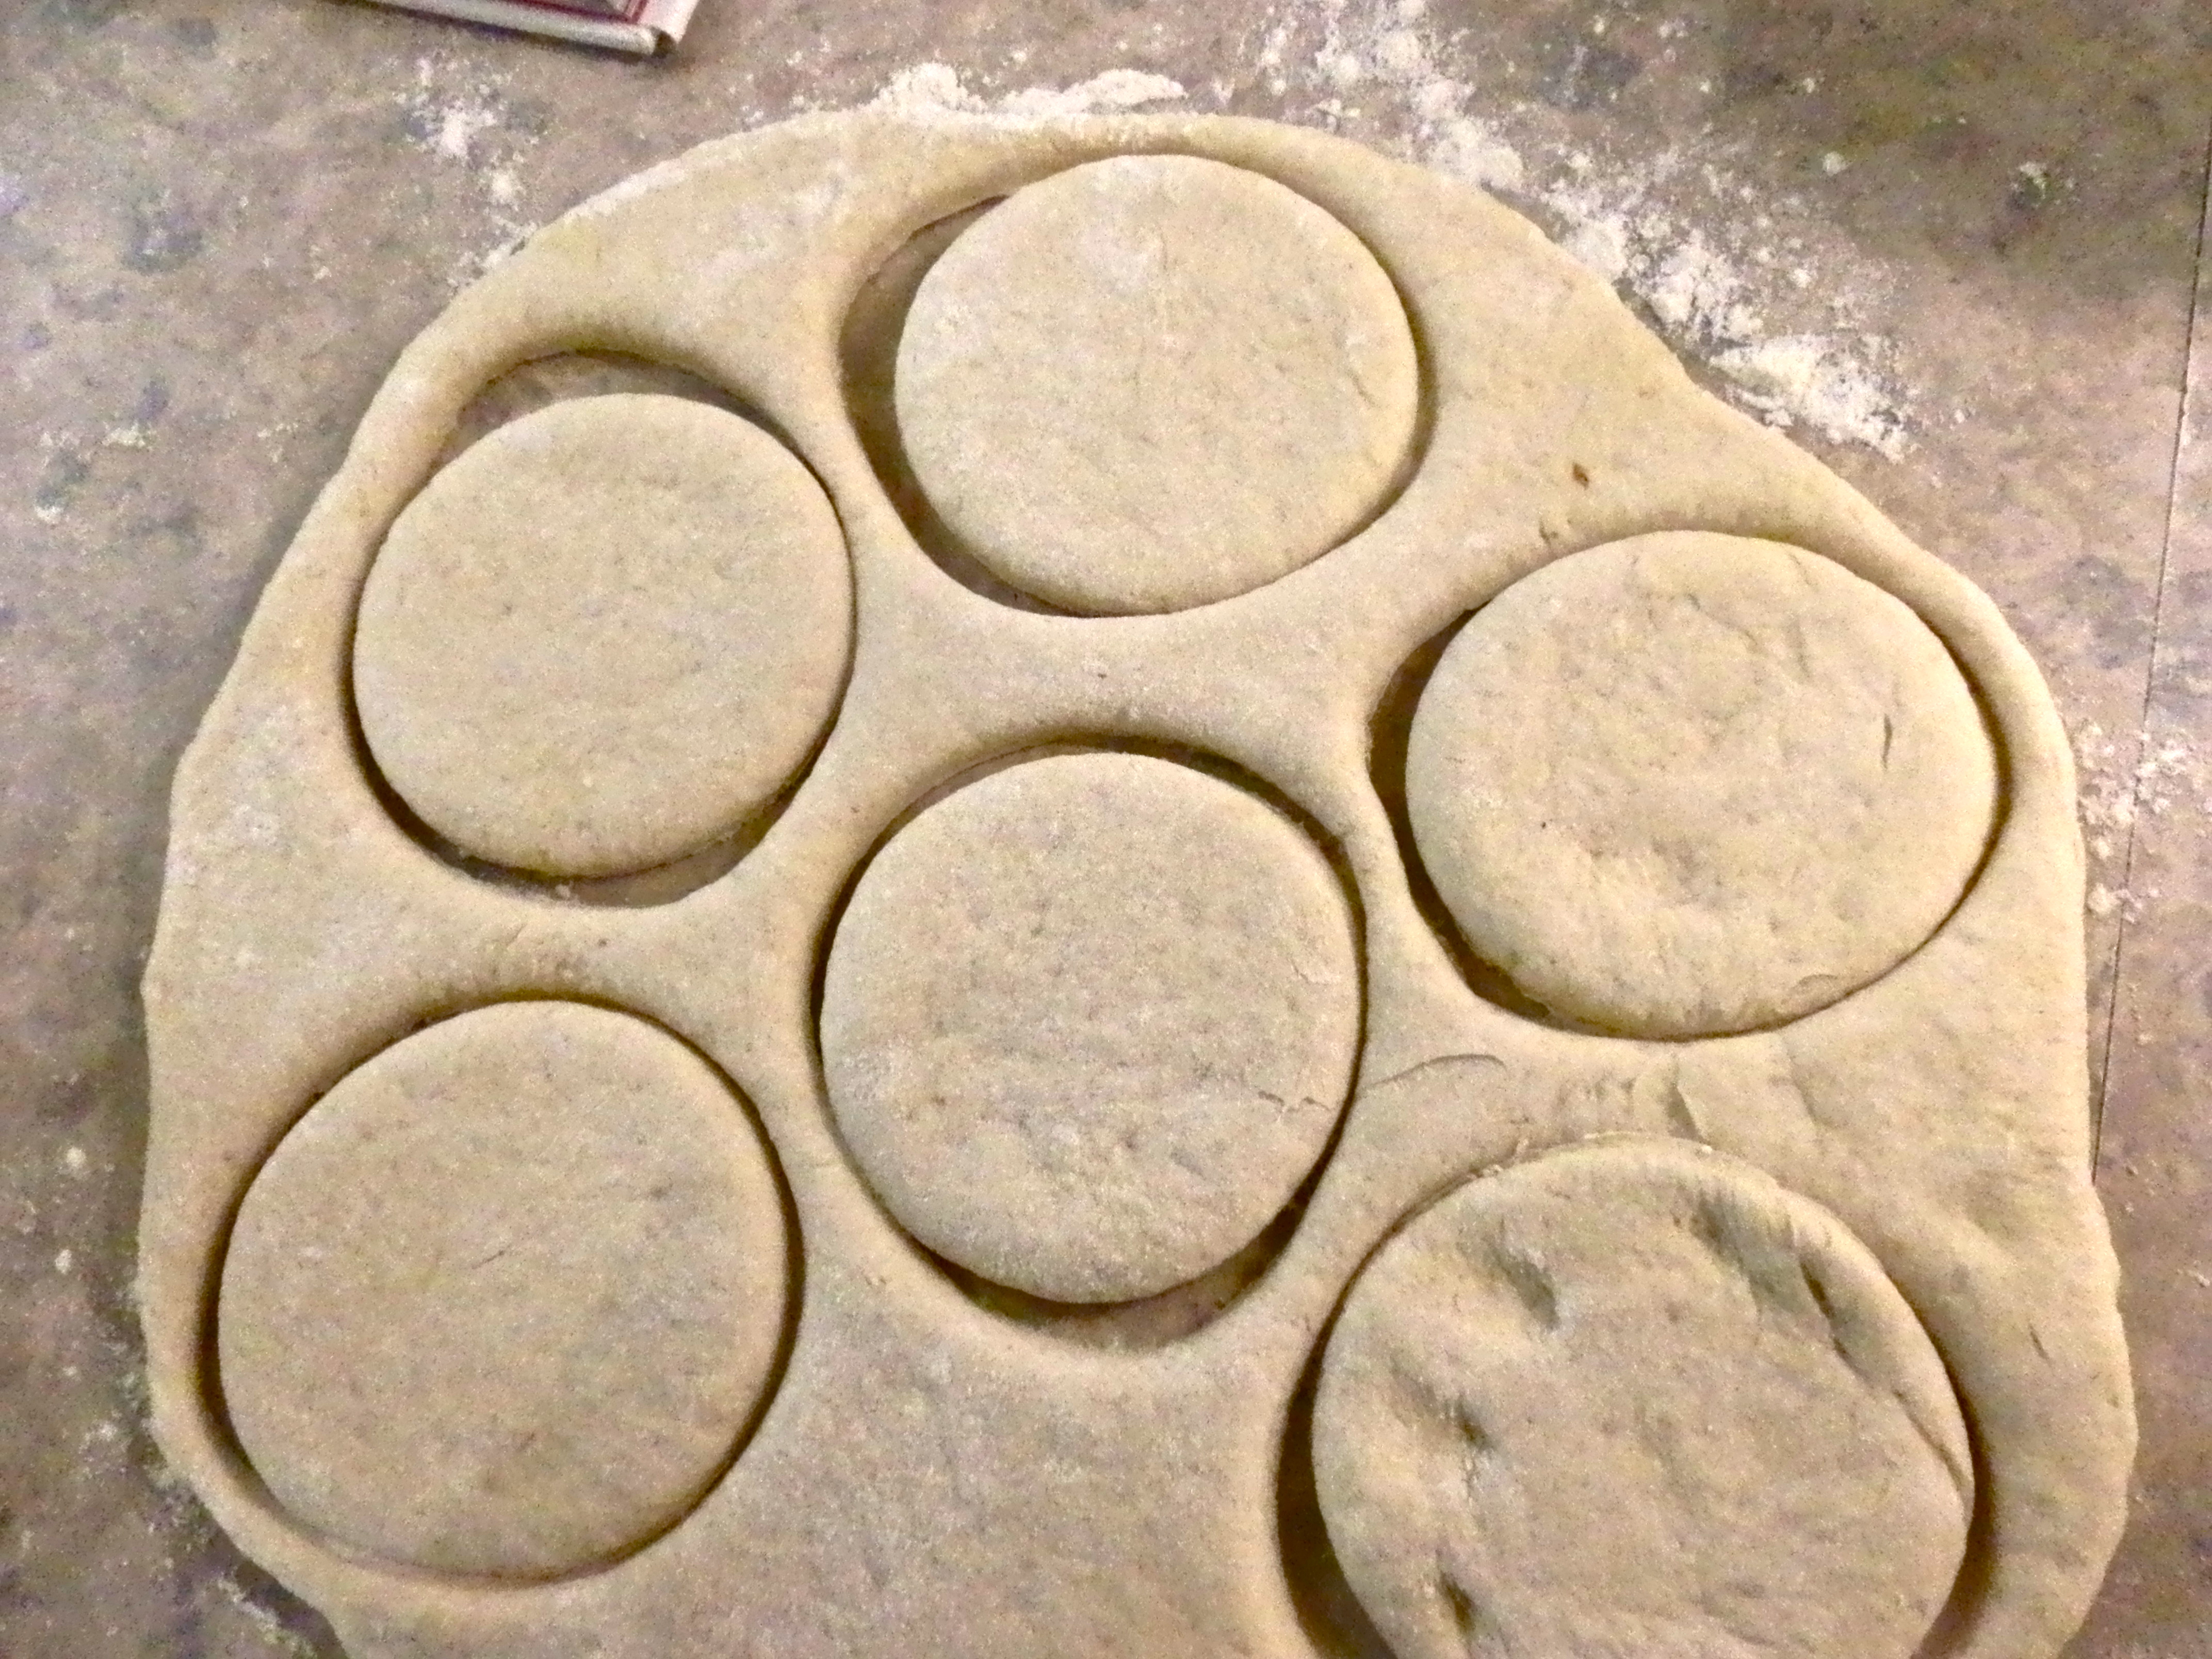
Once risen, knock the dough back again and divide into 12 buns- or one large bun if you prefer! Once divided and rolled into balls, place the buns fairly close together on a prepared baking tray. Leave to rise for about 45-60 minutes. By the end of the time the buns should feel spring to touch.

hot cross bun

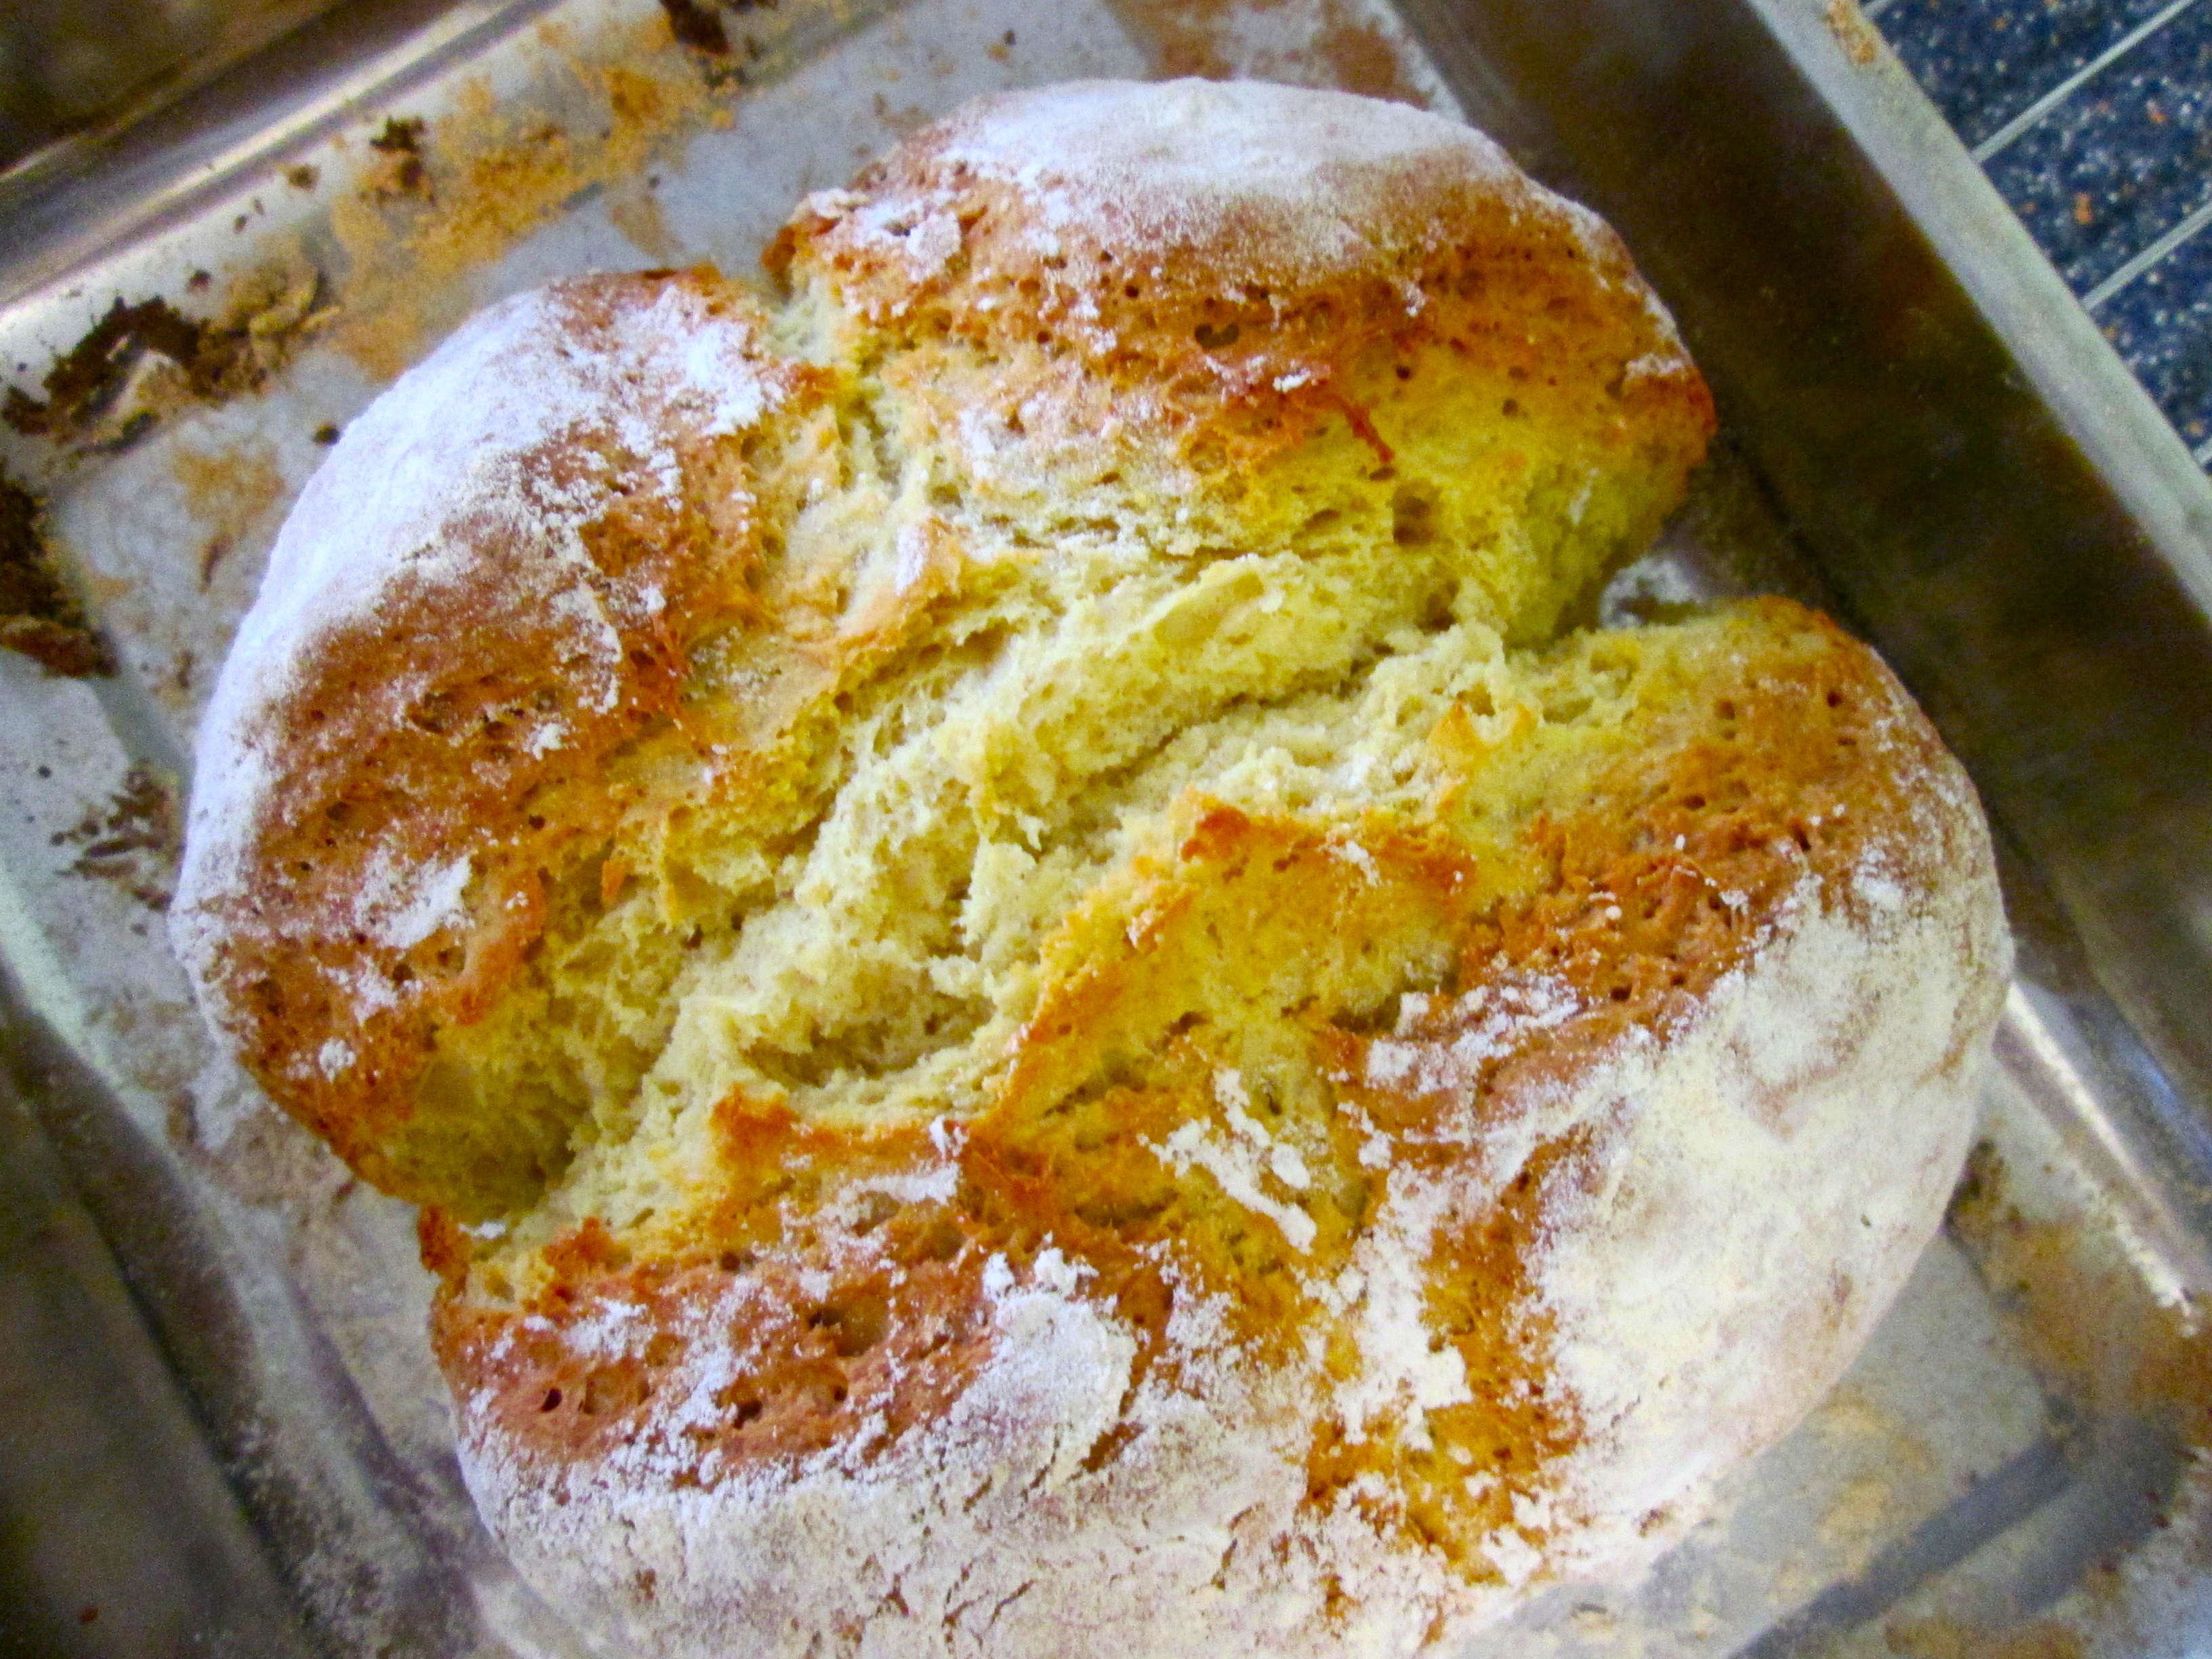
To make the crosses on top mix together 3 tablespoons of flour to a tablespoon of water. This should form soft dough that you can then roll out. Cut this dough into long, thin lines and place on the buns like crosses. Place the buns into the oven at 220°C for 20 minutes. The buns should be brown/golden on top.

To glaze them you could either heat a little apricot jam and brush it over the buns whilst still warm, or make a glaze by dissolving 2 tablespoons on sugar in a little bit of water. Once the sugar has dissolved, brush over the buns and leave to cool. Enjoy!

Hot cross bun

Happy Pancake Day!

Since it’s been Shrove Tuesday I thought some pancake inspired bread is in order! This bread contains lots of maple syrup and has a brioche like feel to it. It’s very soft because you need to knead it for at least 10 minutes. I thought maple syrup is key to pancakes and it’s a great substitute in cooking for normal sugar. However you need a fair amount of it in order for the flavour to come through.

This bread is soft and reminds me of the thick American pancakes which I love to have on Pancake Day!

The recipes is as follows:
400g strong white flour
5g salt
7g yeast (1 sachet)
270ml milk
25ml maple syrup
20g butter

This makes 2 smaller loaves. I made mine into plaited letters as I made the bread for two of my friends who have birthdays this week.

Place the flour, salt, yeast, maple syrup and butter into a bowl. Add the milk and begin to knead. I kneaded my bread for nearly 15 minutes until it was silky smooth and elastic. Leave to rise for 1 hour until it has doubled in size.

Once it has risen, knock the bread back by kneading it again. Now you could just place the loaf in a tin for a tin loaf, however I divided mine into strands and plaited them together. When plaiting bread, make sure the ends are really stuck together otherwise they may come apart once cooked. You could use a little egg wash in between the ends to secure them but it’s not necessary.

half way through plaiting

half way through plaiting

maple syrup bread, plaited and ready to go in the oven!

maple syrup bread, plaited and ready to go in the oven!


Now leave to prove for 30 minutes and then place in a oven at 220° for 20 minutes. The bread will be golden on top and sound hollow on the bottom. Enjoy!

My 'J' bread for my friend james

My ‘J’ bread for my friend james

It’s beginning to look a lot like Christmas!

On the last Wednesday of our term at university, my flatmates and I decided to have our own Christmas dinner. It was great and I felt so Christmassy that I decided to cook all day! I decided to make a Christmas loaf. This consists of rich dough with lots of dried fruit in. Dried fruit is normally very expensive but around this time places like Aldi, Lidl and Poundland are doing massive savings on bags of random dried fruit. Therefore I thought it was the perfect opportunity to try out a new recipe!

This recipe is also a great way of using up the last eggs and milk before the end of term and since it was a fruit loaf I hoped it would last the last few days of term too! (It didn’t, it was eaten too quickly!).

The recipe is as follows:

250g strong white flour
3g salt
1 sachet of yeast
20g butter
25g sugar
80ml milk
80ml water
1 egg – beaten
170g mixed fruit
1tsp cinnamon
½ tsp mixed spice

Start by placing the flour and spices in a bowl and mix them together. Add the yeast, sugar, salt and butter. Mix the water in with the milk and then gradually add this mixture into the floury mixture. Now add the beaten egg. Bring the mixture together to form dough. Lastly add the dried fruit. Knead the dough for a good 10 minutes. It is hard work so be ready for your arms to ache! Once the dough feels smooth and stretchy place in a bowl and leave to rise for 1 hour.

After 1 hour, the dough should have doubled in size. Knock back the dough and knead it for a couple of minutes. This dough is quite wet so it is hard to shape. I decided to place it in a tin to prove rather than leave the dough on a tray. This is because I didn’t feel it would hold its shape very well without some support.

Leave the dough to prove for about 30 minutes and then place in a hot oven for 15-20 minutes at 200°. Keep an eye on it after 10 minutes as the fruit on top can burn easily. Once it is ready the top should look golden. You can then leave it to cool and add an icing or just eat it warm with a load of butter. Enjoy!
Christmas loaf

A loaf but with a twist

It was my friend’s birthday the other day so I thought I’d make her something. Since I’m into making bread I thought I would make her a little homemade loaf. The only thing is, a loaf is a bit of a boring way to say happy birthday. So I thought I would add a little sweetener to make it a bit more interesting. Since I’m a student I turned to my cupboard to see what interesting things I could put in my loaf and that’s when I found honey.


Despite the fact that it’s got honey in it, this loaf is still savoury but the honey adds a little hint of sweetness at the end so it goes great with cheese or just butter. My flatmate and I even had some with some chorizo and it was delicious!


This recipe makes to smallish loaves:


400g strong white flour

20g butter

7g yeast

1 and ½ table spoons of honey

5g salt

260ml water


Mix together the flour, yeast,salt,butter and honey. Gradually pour in the water. Knead the dough for at least 10 minutes until it feels elastic and springy. Leave to prove in an oiled bowl for 1 hour.

Once proved, knock the dough back and divide into 2 pieces. Shape the dough into small baguette type shapes. (Or any shape you want!). Leave on a baking tray to prove for 30 minutes.

Once they have risen a little bit, place in a pre-heated oven at 220° for 20 minutes. They should look golden brown on top and be hollow sounding. Enjoy!

20141114_145555

honey loaf


Soda bread- quick to make, quick to be eaten!

Soda Bread is such a quick and no fuss bread. The great thing is that you will almost certainly have all the ingredients in your cupboard too! Soda bread is made with just plain flour, bicarbonate of soda, salt and milk. However I have seen recipes asking for ‘buttermilk’ but as a student buttermilk is a slight extravagance!

The recipe is as follows:
250g plain white flour
½ tsp bicarbonate of soda
½ tsp salt
200ml milk

I love making soda bread. It’s such a different taste to normal bread. Plus when I’m in a hurry I still have time to make it.

You just need to simply add all the ingredients into a bowl and mix gently into a soft dough. Place on a floured surface and mould the dough into a ball. Place on a floured baking tray and pop in a pre heated oven for 30 minutes at 200°.
soda bread pre oven

And there you have a loaf ready to be eaten! You can keep it in the freezer sliced up for up to 3 months, or eat within a couple of days.

soda bread

nann bread, Order up!

Most days I walk back home from university. To do this I have to walk down the curry mile in Manchester. I love the smells down this road however it makes me crave curry so much! More specifically, it makes me crave naan bread so much! The only problem is that nann bread is quite expensive and the ones from takeaway curry houses tend to be quite unhealthy.

So I decided to make some myself. Real naan is quite difficult to make so I found a recipe that is slightly cheating but it is healthier, quicker and makes delicious bread.

Naan bread is just made up of flour, yeast, salt, oil and water. The following recipe makes 2 medium-sized naan breads.

125g strong white flour
about 3g yeast
½ tp salt
1 tsp olive oil
100ml water

Simply add all the ingredients together and knead for about 5-10 minutes. The dough is quite wet so be patient! You then just need to leave the dough to double in size, this takes about an hour. Once risen, knock the dough back and divide into 2 pieces.

Leave the dough to rest for 10 minutes. Pre heat your oven at 220°. Place the pieces of dough on a lined baking tray and bake in the oven for 10-15 minutes until slightly golden on top. Once cooked you can easily freeze them and they’re keep for a good 3 months. Enjoy!

naan bread finished

A Very English Muffin

The English muffin; a classic, a staple and a godsend for the lowly student. Why? Because they’re easy to make in large batches and they’re so easy to freeze and unfreeze!

They go great with jam and butter but also with soups, baked beans, stews etc. They’re basically perfect freezer food. Pop one in the toaster and it will be ready to eat in 5 minutes.

The ingredients are also really basic and you’re bound to have them all lying around in the cupboard already.

My recipe is as follows:

250g strong white flour
1 Tbsp sugar (castor or brown)
a pinch of salt
7g (1 sachet) instant yeast
100ml of milk mixed with
75ml water

Start by mixing together the flour, sugar, salt and yeast. Add the milk and water gradually. Knead the dough for a good 10 minutes until it is smooth and elastic. Leave to rise for about 1 hour, until it has doubled in sized.

Heat your oven at 200°C. Roll the dough out to about 1-2 cms thickness. Cut out circles that are about 8cms in size. I used a water glass for the shape! Leave on a plate with a tea towel over them to rest for 10-15 minutes. Meanwhile heat up a frying pan.

cutting out the muffins

Place the dough circles onto the frying pan and cook them for about 3-4 minutes on each side. You want them to be fairly browned on both sides. Once all of the circles have been cooked, place them on a baking tray and put them in the oven for about 10 minutes. This is just to make sure they’re not too doughy on the inside. Once they out leave to completely cool if you want to freeze them or cut them up and slather with butter, enjoy!

An english muffin- done and dusted!

An english muffin- done and dusted!

Fougasse- the french Foccacia

Fougasse is one of my favourite breads. They’re great for lunches or just snacks. With the recipe on this blog you could make one big ‘tear and share’ fougasse or 5 small fougasses. We tend to eat ours with soups, but they are delicious if you dunk it in balsamic vinegar and olive oil.

Fougasse is a surprisingly easy bread to make. You just have to remember to handle with care! It’s also a great way to use up left herbs in your fridge, if you have any. If you’re savvy though you could go to your local heath or down land and pick up some free herbs, such as Marjoram or Wild Thyme. Most herbs will go with fougasse, for mine I used Rosemary and Thyme both of which we have in the garden so they’re free!

marjoram and other flowers growing on my local heath land

marjoram and other flowers growing on my local heath land

Marjoram- use in place of oregano. Can be found on chalky heath land

Marjoram- use in place of oregano. Can be found on chalky heath land


Recipe:
250g strong white flour
5g salt
7g yeast
1 tbsp olive oil
190ml water
semolina for dusting (if you’re fancy)
herb of your choice.

Place the flour, yeast, salt and olive oil in a bowl. Gradually add the water. It may seem like there is too much water but it does eventually all soak in- just be patient! The dough eventually becomes really elastic and smooth. You need to knead it for about 10 minutes by hand and be prepared to get messy. Place this is an oiled bowl to rise for 1 hour.

Once it’s doubled in size carefully tip the dough onto a heavily floured surface. Here I use a sharp knife or a pizza cutter to divide the dough into 5 pieces, or leave it as one big piece. Place the dough onto a lined baking tray. I try to arrange the dough into a croissant like shape but slightly flattened. Then cut several holes into the dough- only about 3-5 cms long.

Leave this to prove for 20-30 minutes and now preheat your oven at 220°C. Once the proving stage is done add a little oil to the top of each fougasse and softly massage the oil into the dough. Sprinkle over your herbs of choice with a bit of flour and a sprinkling of salt if you want.

Place in the oven for 15-20 minutes until golden brown on top.

Fougasse

Blackberry bread- a loaf from the wild side

When you’re trying to save money on food, the best way to save is to use what’s free. My thoughts turn straight to the humble blackberry. It grows on nearly hedgerow where I live and I’m sure you won’t be far away from a bramble bush yourself! They get everywhere, including cities so you have no reason to not get out there and go pick a bagful!

Fresh fruit is a great way to instantly improve a fresh loaf of bread. Blackberries have a great kick to them and if you add a bit of sugar and vanilla, you create a yummy loaf that you can eat for breakfast.

Before now I had only tried using dried fruit in bread so this was a bit of an experiment for me. I used a rich dough with eggs and milk in it as well as sugar and vanilla.

Be warned a rich dough tends to be quite sticky so be ready to get messy…unless of course you own one of those fancy mixers but this is a student’s blog so I just got my hands in!


This recipe makes one loaf.


250g strong white flour

3g salt

5g yeast

20g margarine

20g brown sugar

2 small eggs

80ml water mixed with 80ml milk

a couple of handfuls of washed blackberries

a teaspoon of vanilla

a ¾ teaspoon of cinnamon

Start by mixing together the flour, salt, yeast, eggs, sugar, butter, cinnamon and vanilla with the water/milk mix. Remember don’t put the salt directly onto the yeast otherwise the yeast is useless! Knead the dough for a good 10 minutes. By the end it should look well mixed together and the dough will still be quite wet. Add in the blackberries and knead in carefully. The blackberries can fall apart but this just gives the bread a cool purple look.

blackberry loaf dough

the dough half way through mixing

I left mine to rise for about 1-½ hours in a lightly oiled bowl. Afterwards I didn’t knock it back too much as I wanted the inside to be fairly airy. Instead I shaped it carefully placed it on a tray to prove for about half an hour. However I would suggest putting it into a tin because the dough is so wet it spreads out and doesn’t maintain its shape by itself! ( mine ended up looking slight like a UFO!)

blackberry loaf

the finished loaf

After proving, place in the oven at 220°C for about 20 minutes. Keep an eye on the fruit as it can burn easily. And there you have yourself delicious bread that is great for breakfast!

blackberry loaf

all sliced up